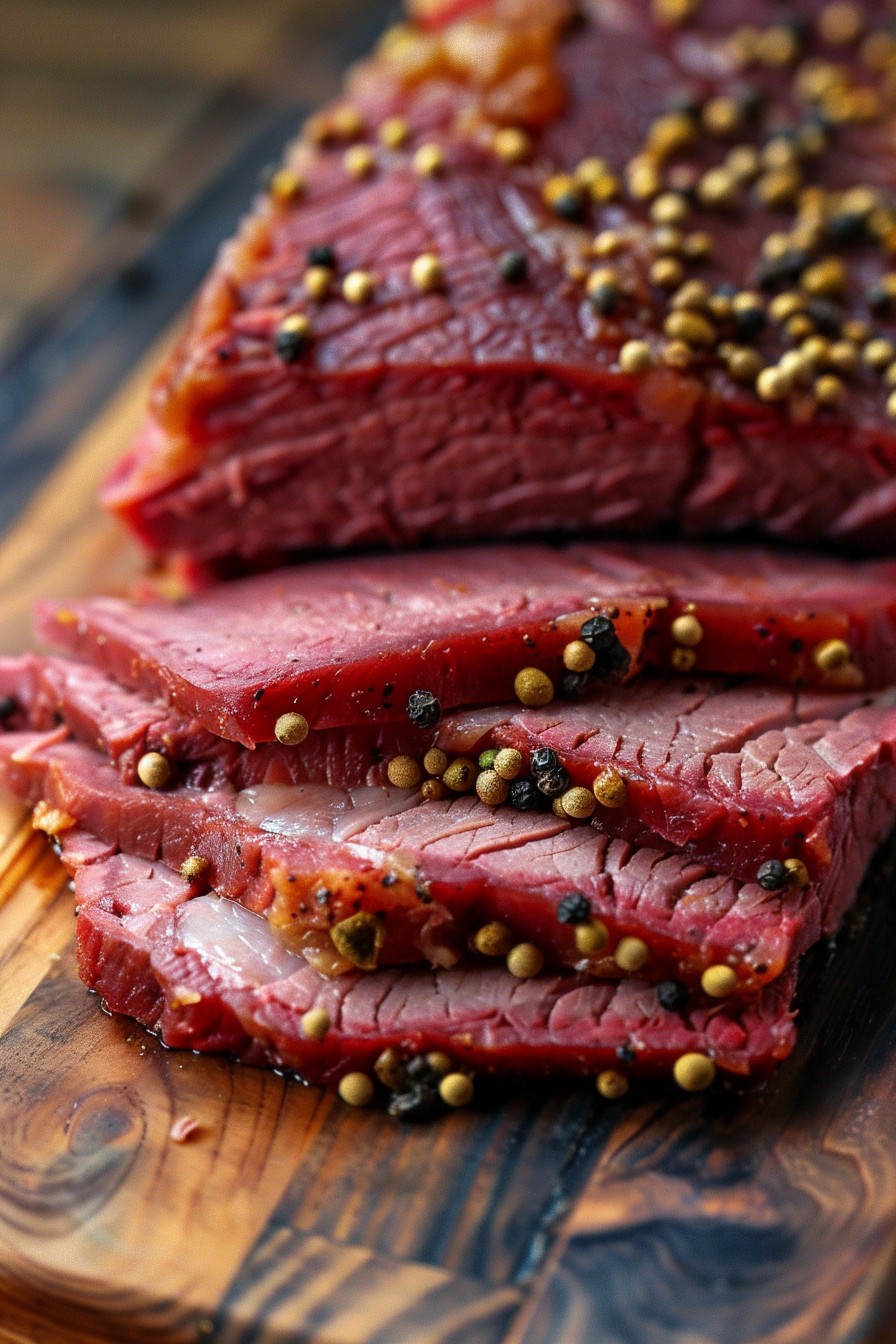

Gather around, meat lovers! Today, we’re diving into the art of curing your own corned beef. This isn’t just any recipe; it’s a gateway to understanding the magic behind that tender, flavorful beef we all crave. Perfect for St. Patrick’s Day or any day you’re feeling adventurous in the kitchen.
Why This Recipe Works
- Deep Flavor Infusion: The brine solution is packed with spices and salt, ensuring every bite is bursting with flavor.
- Customizable Spice Level: Adjust the amount of peppercorns and mustard seeds to suit your taste buds.
- Perfect Texture: The slow curing process guarantees that tender, melt-in-your-mouth texture we all love in corned beef.
Ingredients
- 5 lbs beef brisket
- 1 gallon water
- 1 cup kosher salt
- 1/2 cup brown sugar
- 2 tbsp pink curing salt
- 3 cloves garlic, smashed
- 2 tbsp black peppercorns
- 1 tbsp mustard seeds
- 1 tbsp coriander seeds
- 4 bay leaves
Equipment Needed
- Large pot
- Measuring cups and spoons
- Glass or plastic container large enough to hold the brisket and brine
- Cheesecloth
- Kitchen twine
Instructions
Prepare the Brine
In a large pot, combine the water, kosher salt, brown sugar, and pink curing salt. Bring to a boil, stirring until all the salts and sugar are completely dissolved. Remove from heat and let it cool to room temperature. This is your magic potion that will transform the brisket into corned beef.
Brine the Brisket
Place the brisket in your container and pour the cooled brine over it, ensuring the meat is fully submerged. Add the garlic, peppercorns, mustard seeds, coriander seeds, and bay leaves. Cover and refrigerate for 5 to 7 days. Flip the brisket every day to ensure even curing.
Rinse and Cook
After curing, remove the brisket from the brine and rinse it thoroughly under cold water. Place it in a pot, cover with water, and bring to a boil. Reduce heat and simmer for about 3 hours, or until the meat is tender.
Rest and Slice
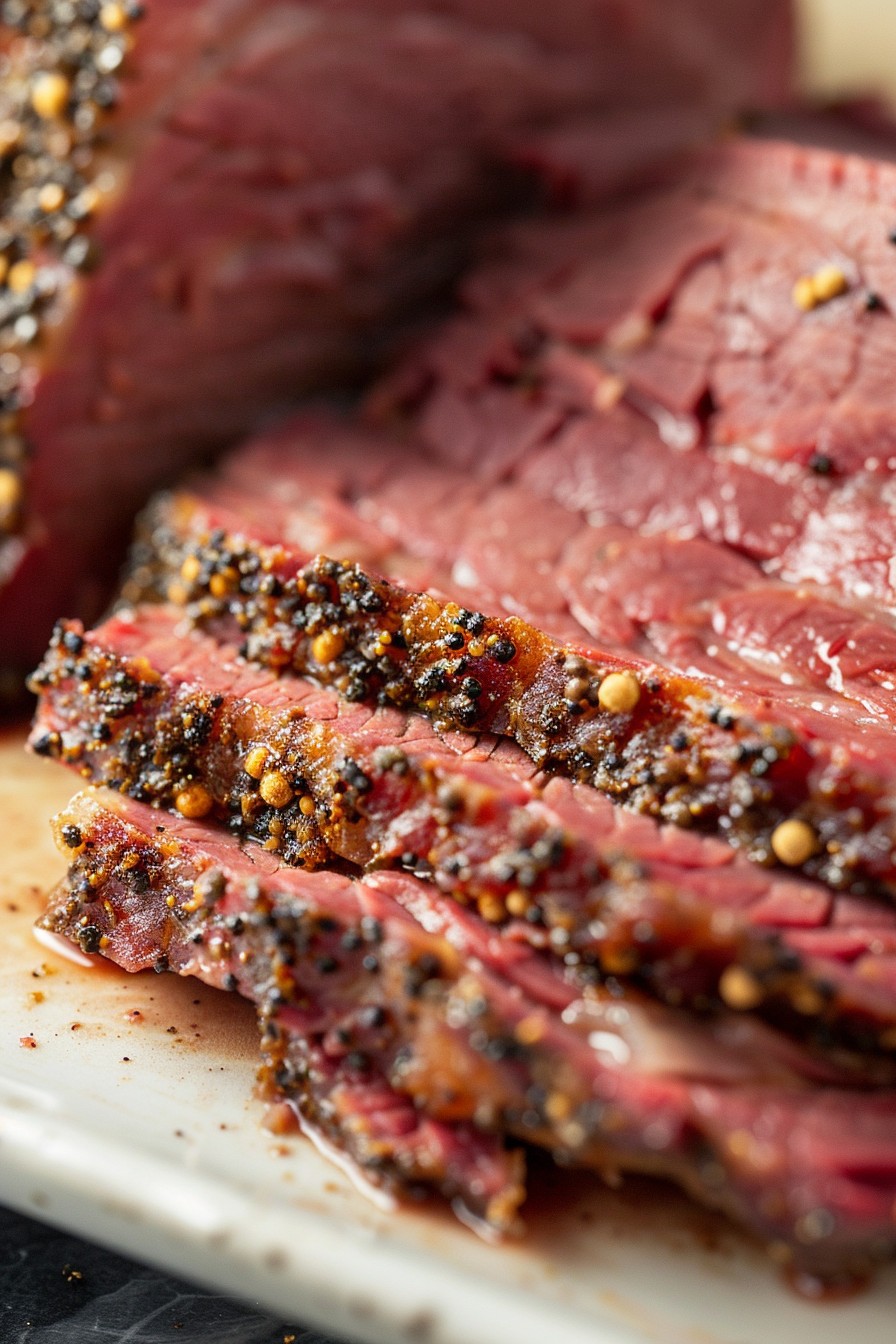
Let the corned beef rest for about 10 minutes before slicing against the grain. This ensures each slice is tender and not stringy.
Serve and Enjoy
Serve your homemade corned beef with your favorite sides. Whether it’s cabbage, potatoes, or in a sandwich, it’s sure to be a hit.
Tips and Tricks
For an even deeper flavor, consider adding a bottle of stout beer to the brine. The maltiness adds a rich depth that’s hard to beat. If you’re short on time, you can reduce the curing time to 3 days, but the flavor won’t be as pronounced. Always use a glass or plastic container for curing; metal can react with the brine. For those who love a bit of heat, adding a few crushed red pepper flakes to the brine can give your corned beef a nice kick.
Recipe Variations
- Spicy Version: Add more black peppercorns and a few dried chili peppers to the brine for a spicier kick.
- Sweet Version: Increase the brown sugar to 3/4 cup for a sweeter profile.
- Herb-Infused: Add fresh thyme and rosemary to the brine for an herby twist.
Frequently Asked Questions
Can I use a different cut of beef?
While brisket is traditional, you can experiment with other cuts like round or rump. Just keep in mind that the texture and fat content will vary, affecting the final product.
How long can I store the cured corned beef?
After curing and cooking, corned beef can be refrigerated for up to a week. For longer storage, freeze it for up to 3 months.
Is pink curing salt necessary?
Yes, pink curing salt (sodium nitrite) is crucial for safety and gives corned beef its characteristic pink color and flavor. Don’t skip it!
Summary
Making your own corned beef is a rewarding process that results in a delicious, customizable dish. With patience and the right ingredients, you’ll achieve a flavor that store-bought versions can’t match.